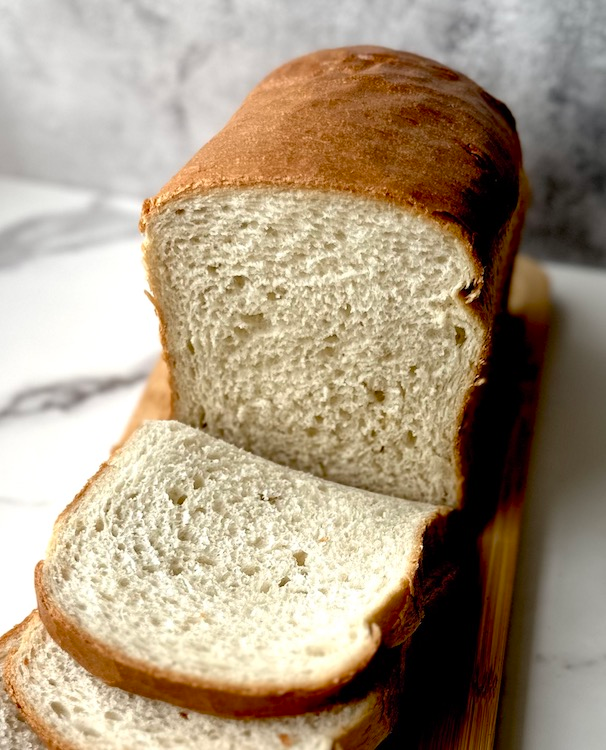
There’s an undeniable comfort and simple joy that comes from a freshly baked loaf of white bread. The aroma filling your kitchen, the golden crust, and that incredibly soft, fluffy interior – it’s a staple for a reason. While often seen as basic, mastering a truly good white bread loaf is a fundamental skill that opens up a world of delicious possibilities.
My recipe for Super Soft White Bread Loaf is designed to give you that perfect result every time: a tender crumb that’s ideal for sandwiches, a delightful texture for toast, and a versatility that makes it an everyday favourite. We’ll focus on the simple techniques that ensure maximum softness and a beautiful rise, proving that homemade bread is always superior.
In this post, I’ll guide you through every step to create this comforting classic. Get ready to bake a loaf that will become a regular feature in your home, bringing warmth and deliciousness to every meal!
Ingredients
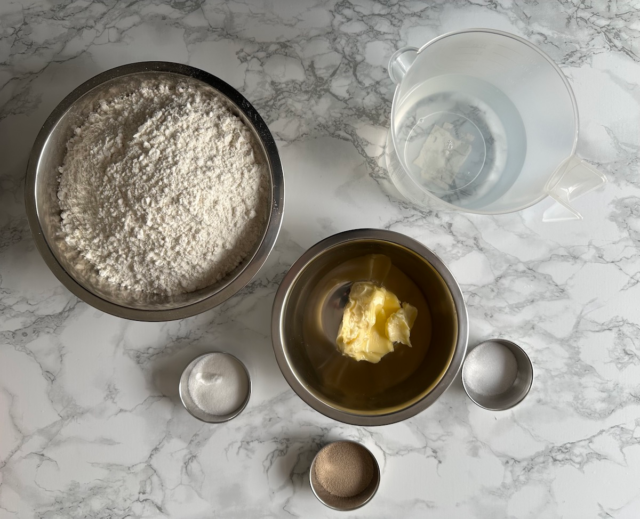
- Bread Flour – is essential for this loaf due to its higher protein content (typically 12-14%). This robust protein level is crucial for developing a strong and elastic gluten network, which allows the dough to trap gases effectively, resulting in a well-risen, airy, and wonderfully soft crumb. For more on gluten read ‘The Secret Life of Flour’
- Caster Sugar – plays several roles in this white bread. It provides vital food for the yeast, encouraging vigorous fermentation and a good rise. Additionally, it contributes to the bread’s tender texture, aids in achieving a lovely golden-brown crust, and adds a subtle sweetness to the overall flavour.
- Table Salt – is indispensable for both flavour and dough control in bread making. It enhances the bread’s taste, preventing it from tasting bland, and crucially, it helps to regulate the yeast’s activity, ensuring a steady and even rise while also strengthening the gluten structure for a more manageable dough.
- Instant Active Yeast – is the primary leavening agent for this loaf. This convenient form of yeast activates quickly upon contact with moisture and warmth, producing carbon dioxide gas that inflates the dough, creating the characteristic light and airy texture of white bread. To understand more about yeast and it’s varieties check out my ‘Understanding Yeast: Your Guide to Perfect Fermentation’ post.
- Water – is a fundamental ingredient, crucial for hydrating the flour and activating the yeast. It allows the gluten proteins to form their elastic network and facilitates the enzymatic processes that contribute to the bread’s flavour development and soft texture.
- Unsalted Butter – adds significant richness and a desirable tenderness to the white bread loaf. Its fat content helps to lubricate the gluten strands, preventing the bread from becoming tough and instead promoting a soft, melt-in-your-mouth crumb. Using unsalted butter also gives you precise control over the overall salt content.
All The Equipment You Need
- Stand Mixer with a Dough Hook
- Bread Prover – This is how I made my bread prover for under £50: ‘My Homemade Dough Prover: The Key to Consistent Bakes’
- Pullman Loaf Tin 1000g
- Bake Spray
- Dough/Bench Scraper
- Mixing Bowl
- Digital scale
- Wire Cooling Rack
Storing White Bread Loaf
Your freshly baked white bread loaf will stay wonderfully fresh when stored in an airtight container at room temperature for up to 2 days. For longer storage, you can easily freeze the loaf, either pre-sliced for convenience or as a whole, for up to 3 months.
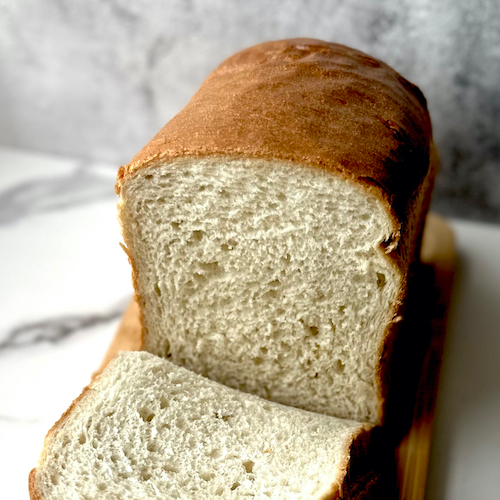
Super Soft White Bread Loaf
Ingredients
Equipment
Method
- Set the prover to 25℃ (77℉)
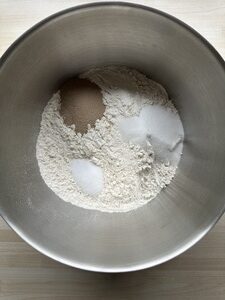
- Add the bread flour into the mixing bowl followed by sugar, salt and yeast in separate corners of the bowl so they are not touching.

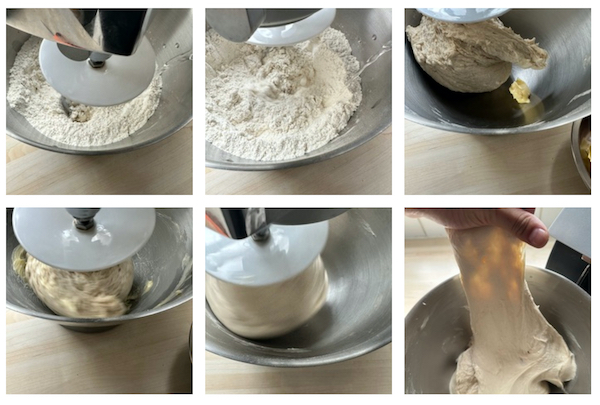
- Set on the mixer with a dough hook attachment and start mixing on a low-medium speed. Slowly pour the water into the mixer until a rough dough has formed. Scrape down the bowl and mix for 2 minutes on a medium speed. (We just want to activate the gluten before adding in fats).Add the butter in a tablespoon at a time, allowing it to incorporate before adding more. Once it is all combined, turn the mixer up to high and mix for 5-7 minutes. You are looking for a smooth, elastic dough (window pane).

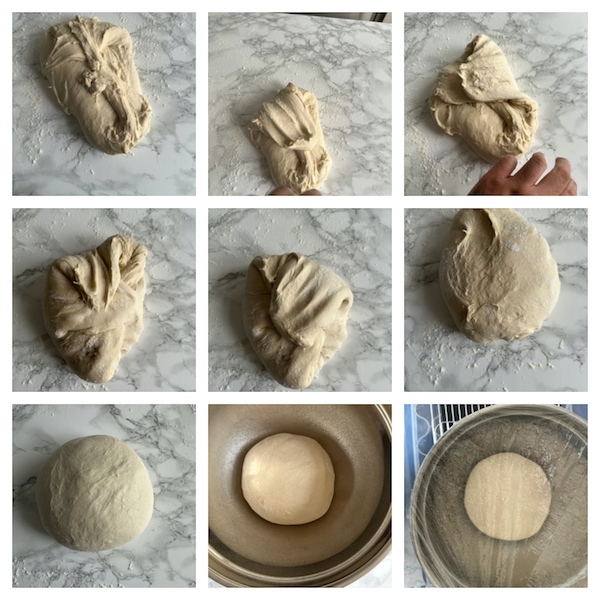
- Lightly flour your work surface and turn the dough out. Pinch a corner of the dough, stretch outwards and fold over onto itself to the centre of the dough. Continue to do this working your way around the dough to form a rough ball. With your dough scraper scoop up the dough and turn over. Use the dough scraper to roll and tuck the dough to form a smooth and tight ball. Place into a lightly greased bowl and cover with cling film (or shower cap) then into the prover for 50 minutes - 1 hour or doubled in size.

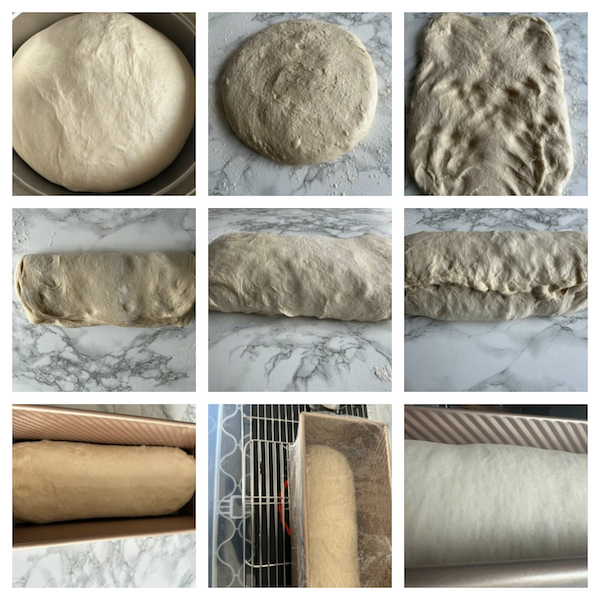
- Lightly grease the loaf tin.Turn the dough out onto a light floured work surface so the top of the dough is at the bottom (refrain from punching the air out). Gently stretch the dough into a vertical rectangle 30cm x 40cm (11in x 15in). From the top-down, roll the dough tucking it in on itself with your thumbs. Pinch the ends and side where the dough meets to seal and place into the loaf tin seam side down, cover with cling film and back into the prover for 30 minutes. (The dough should rise to about 80% of the tin height)
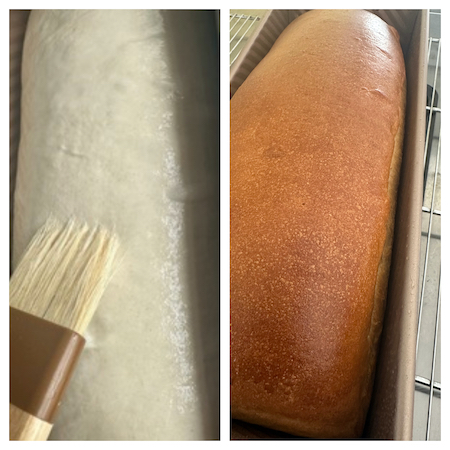
- In the meantime preheat the oven to 200℃ (390℉). When the dough is ready, milk wash the top and into the oven for 30-35 minutes. If you tap the bread it should sound hollow.

- Cool in the tin for 20-30 minutes then turn out onto a wire rack to cool down for another hour or 2.
Notes
- A bread prover allows precise control over both temperature and humidity, ensuring consistent conditions for dough proofing. Here is how I made my prover: 'My Homemade Dough Prover: The Key to Consistent Bakes'
- To start with the dough will be spread across the bowl. As the gluten develops the dough will start to come together, once it comes together and very little is sticking to the bottom or walls of the bowl your dough is ready.